
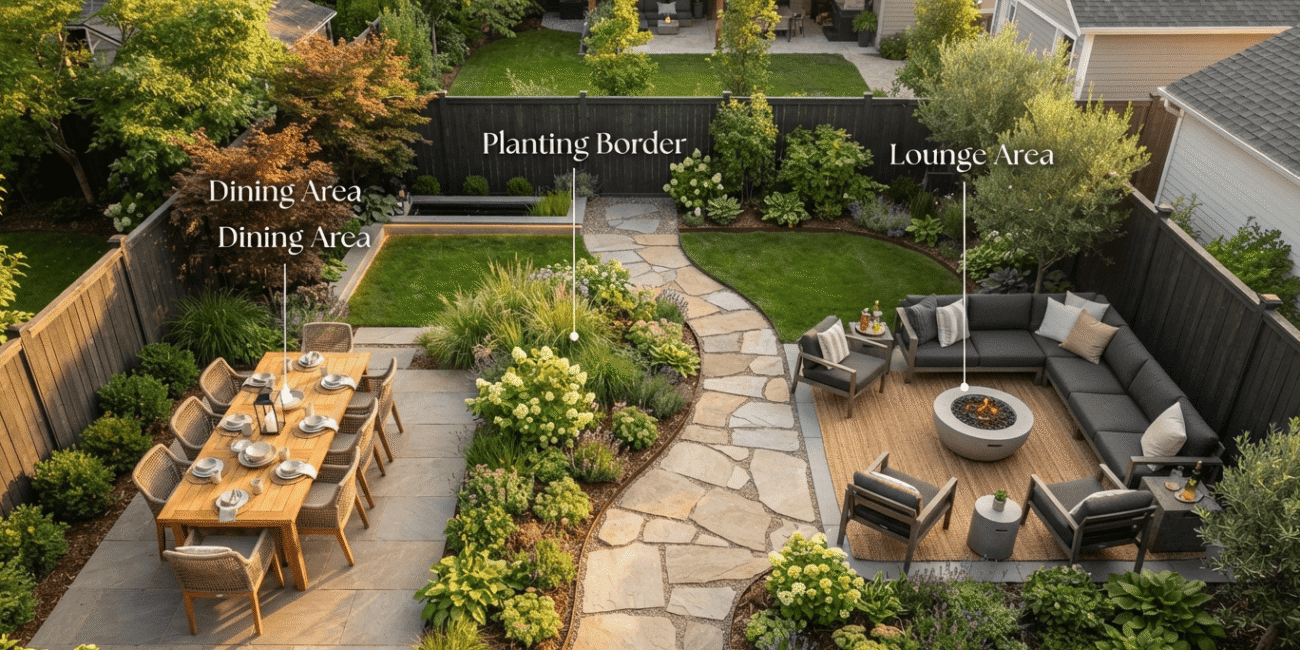
I’ve helped a few friends re-do their outdoor spaces over the last couple of years, and almost every time the problem wasn’t taste. It was sequence. People bought the pretty things first and figured out the layout later, which is a bit like buying curtains before you know where the windows go.
This guide is the sequence I actually use: Backyard Design Tips, plan the zones, sort the ground beneath your feet, get the furniture scale right, layer the lighting properly, and only then think about the finishing touches. It’s a longer read than most “backyard ideas” posts, but that’s on purpose this is the version that actually tells you why, not just what.
Table of Contents
- Yard, Garden, or Patio? Getting the Terms Right
- Step 1: Zone the Space Before You Buy Anything
- Step 2: Choose Your Ground Surfaces
- Step 3: Sort Out Boundaries and Privacy
- Step 4: Scale Your Furniture to the Zone
- Step 5: Choosing Furniture Materials That Actually Last
- Step 6: Layer Your Outdoor Lighting
- Step 7: Plan for Water, Drainage and Weather
- Step 8: Add Planting Last, Not First
- Realistic Seasonal Maintenance Schedule
- Backyard Design Mistakes Worth Avoiding
- Small Backyard? Here’s What Changes
- FAQs
- Final Thought
1. Yard, Garden, or Patio? Getting the Terms Right
Before anything else, it helps to separate three words people tend to use interchangeably.
Your yard is the whole outdoor footprint of the property patio, lawn, fencing, paths, structures, furniture, all of it. Your garden is a specific planting area within that yard, whether that’s a border, a raised bed, or a few pots by the back door. Your patio is simply the hard-surfaced zone, usually where the furniture lives.
The reason this matters isn’t pedantic. Designing a yard is a spatial and structural exercise first where does furniture go, how do people move through the space, what’s underfoot. Designing a garden is a planting exercise soil, sunlight, seasonal choice. Mixing the two up at the start is genuinely one of the most common reasons outdoor spaces end up feeling unfinished even after money’s been spent on them.
2. Step 1: Zone the Space Before You Buy Anything
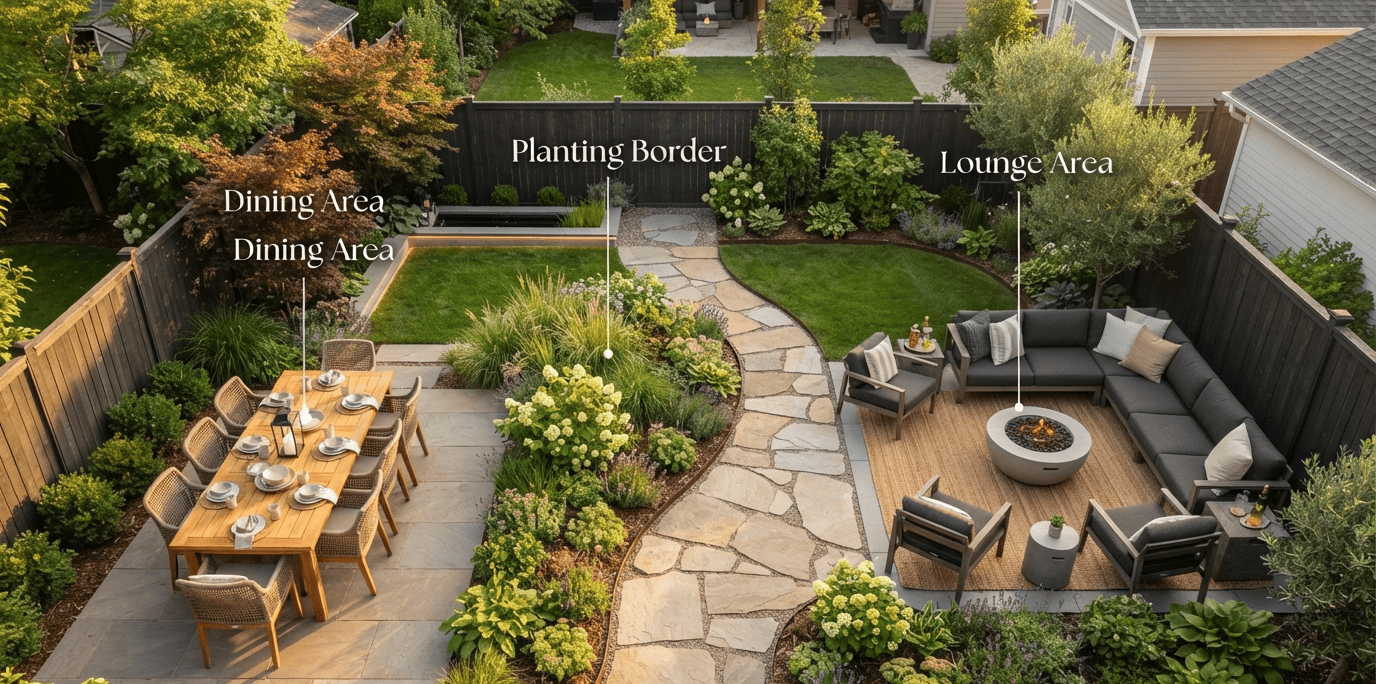
This is the step almost everyone skips, and it’s the one that causes the most regret later furniture that doesn’t fit, a path that leads nowhere useful, a dining table wedged awkwardly against a fence.
Start with a rough sketch. Not architecture-software precision just boxes and arrows on paper. Mark where you want to sit and eat, where you want to lounge, whether you need play space, and whether you actually need a full lawn at all.
A few questions worth answering honestly before you sketch:
- Where does the sun fall at 9 a.m., midday, and 3 p.m.? A dining zone that bakes in direct afternoon sun in summer won’t get used much without shade. Walk the space at different times of day and take notes.
- How does foot traffic actually move? The route from the back door to the bins, the grill, or the shed should never cut straight through your seating zone people will shortcut through it regardless of where the furniture sits, and the zone will feel cramped.
- How much lawn do you genuinely use? A strip of grass that only exists to be edged every week, with no one ever sitting or playing on it, is often better replaced with gravel or ground cover.
3. Step 2: Choose Your Ground Surfaces
Surfaces are where a yard visually comes together or quietly falls apart. Most people don’t think about this until they’re standing in a builder’s merchant staring at forty paver samples with no idea which one is “right.”
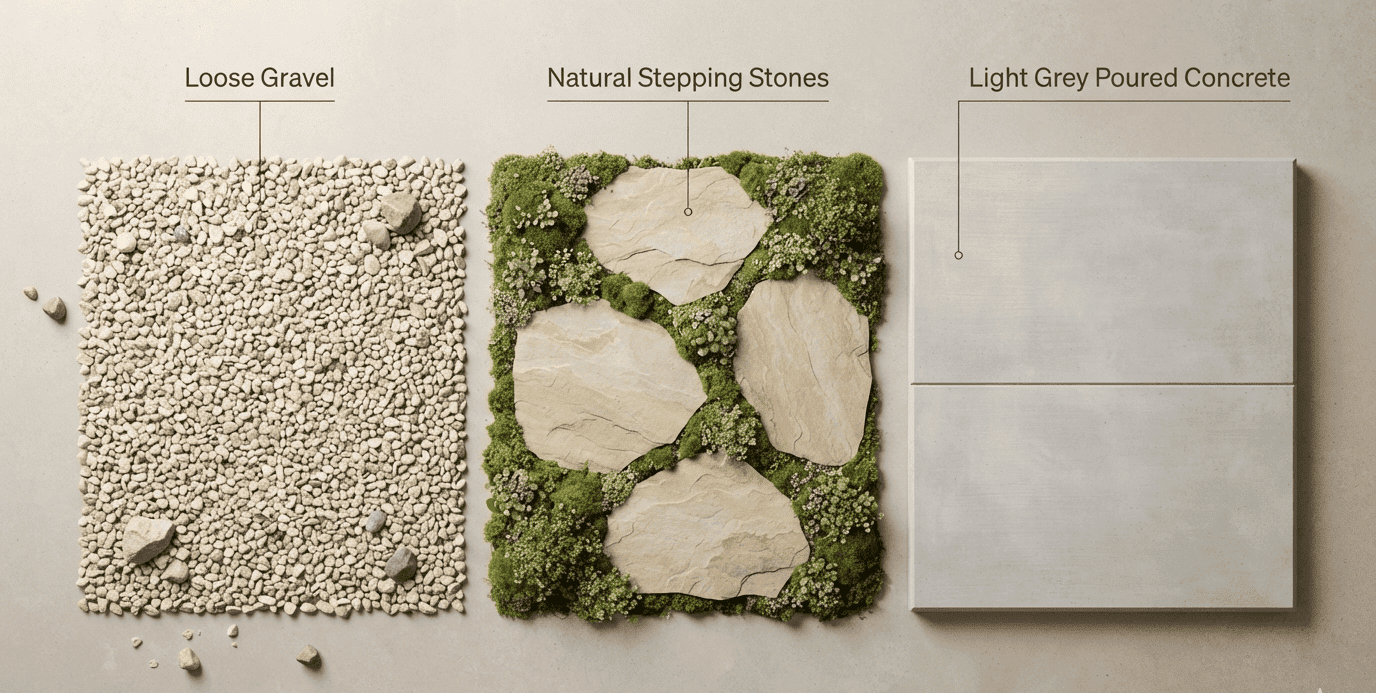
The simplest rule that actually works: pick one primary material and repeat it. Use the same paving for the patio, echo it as stepping stones through the lawn, and repeat it again as edging around a planting bed. Repetition, not matching everything exactly, is what creates a sense of cohesion.
For patios and dining zones: large-format pavers or poured concrete read as clean and contemporary. Smaller brick or cobble-style paving reads as more traditional. Let the style of your house guide this decision rather than whatever’s trending that season.
For pathways: gravel is the most budget-friendly and suits informal yards well. Stepping stones feel relaxed and organic. Poured concrete or laid pavers feel permanent and more formal. Whichever you choose, keep the path at least 90cm (about 36 inches) wide — anything narrower feels like a squeeze when two people try to walk it side by side.
4. Step 3: Sort Out Boundaries and Privacy
An old, weathered, or mismatched fence quietly undermines a yard more than almost anything else and it’s usually the last thing people think to fix, because it’s not exciting.
Painting or staining an existing fence is one of the cheapest jobs you can do (roughly £60, £120 in materials for an average garden fence, depending on size and product) and it delivers a disproportionately large visual improvement. Do this before spending on new furniture it changes how everything else in the yard reads.
If privacy is a bigger concern than aesthetics, trellis panels, tall grasses, or a simple pergola with climbing planting can soften a boundary without the cost of a full fence rebuild.
5. Step 4: Scale Your Furniture to the Zone
This is the mistake I see most often, and it’s worth saying plainly: buy furniture for the zone you have, not the yard you wish you had.
A four-seat bistro set works far better in a compact dining zone than a six-seat table that blocks the route to the back door. In a lounge area, a loveseat with two accent chairs will feel more comfortable and better proportioned than a full sectional that eats the entire floor space and turns the zone into a showroom display.
A rough sizing guide:
| Zone | Minimum comfortable footprint | Furniture to consider |
|---|---|---|
| Compact dining | 2.5m x 2.5m | 4-seat bistro set |
| Full dining | 3.5m x 3.5m | 6-seat table with bench or chairs |
| Cosy lounge | 3m x 3m | Loveseat + 2 chairs + side table |
| Large lounge | 4m x 4m+ | Modular corner sofa |
Multi-functional pieces are worth their price tag in smaller yards. A storage bench doubles as extra seating while keeping cushions dry and out of sight, and a fire table can double as a coffee table during the day.
6. Step 5: Choosing Furniture Materials That Actually Last
Outdoor furniture takes a real beating from weather, so the material matters more than the finish.
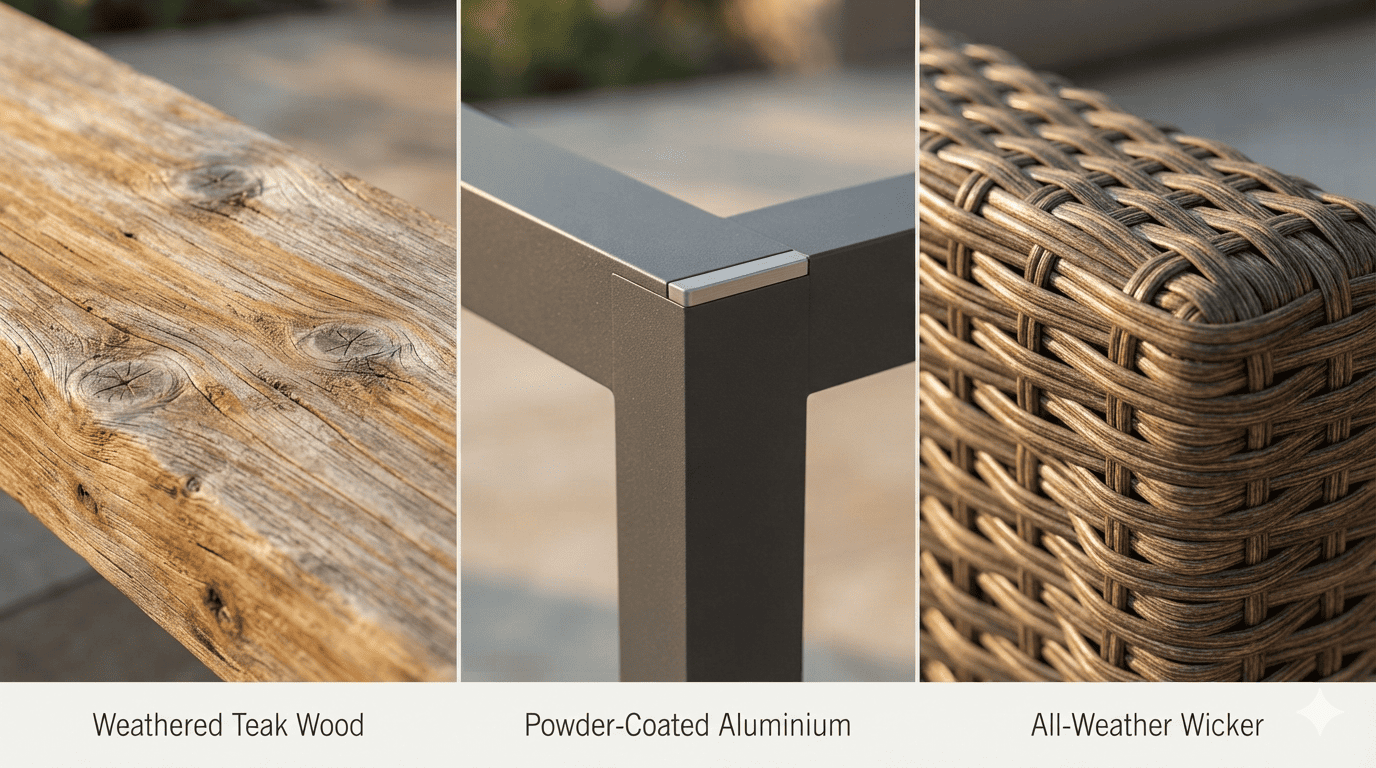
Teak is genuinely durable and weathers to a soft silver-grey over time. Annual oiling keeps its warm tone if you want it, but it holds up structurally either way.
Powder-coated aluminium is light, rust-resistant, and a solid choice for exposed yards — just avoid the cheapest end of the range, which tends to bend under regular use. Mid-range is usually the sweet spot.
All-weather (polyethylene) wicker looks warm and residential when done well. Check the tightness of the weave before buying loose weaves tend to turn brittle within a couple of summers, while tightly woven pieces last significantly longer.
For cushions, solution-dyed acrylic fabric is worth the extra cost if the space gets regular use. The colour is woven through the fibre rather than coated on top, so it handles rain, sun, and the odd night left outside far better than standard outdoor fabric.
7. Step 6: Layer Your Outdoor Lighting
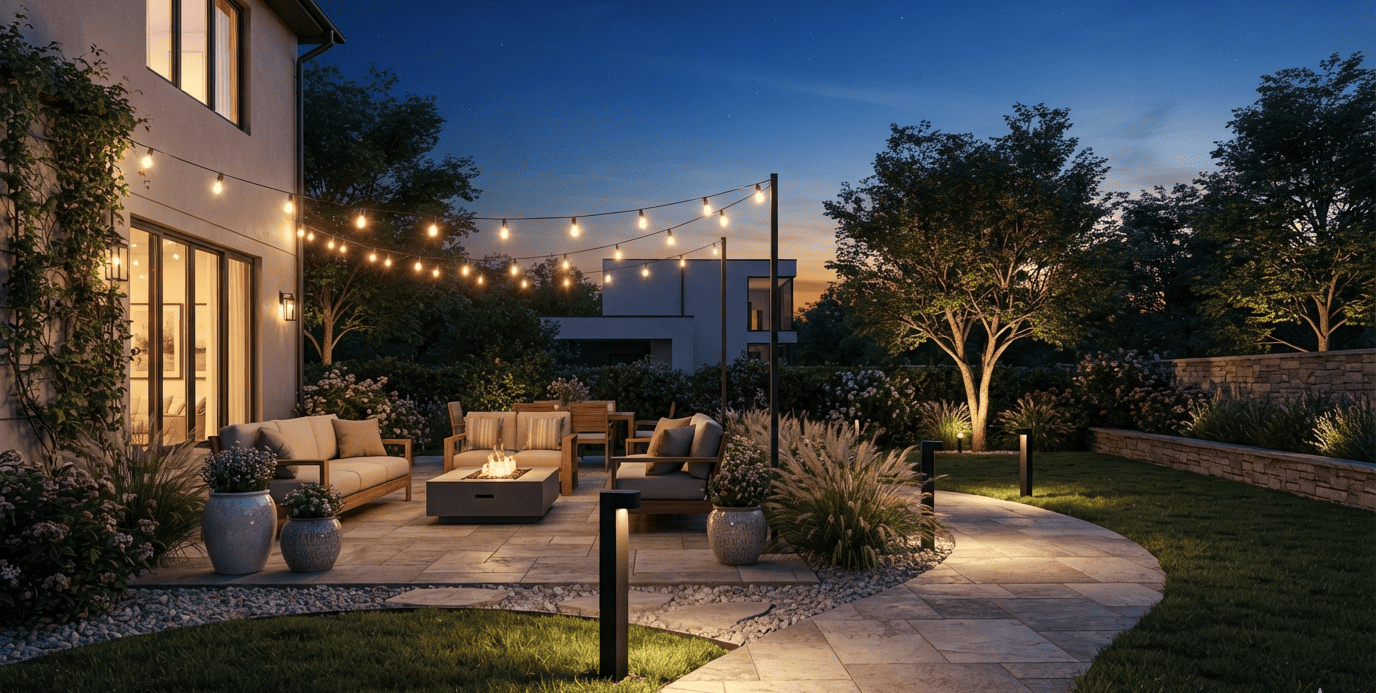
Most backyards go quiet and a bit lifeless after dark for one simple reason: all the lighting sits at the same height, doing the same job. The fix is to think in three separate layers.
Ambient light is the base layer string lights over a pergola or dining area, warm white in the 2700–3000K range, soft and low. This is the layer that actually makes people want to stay outside once the sun’s gone down. Skip it, and even a beautifully designed yard feels abandoned at dusk.
Task light is purely functional path lights so nobody trips walking from the door to the seating area, and a brighter fixture over a grill or outdoor kitchen so you can actually see what you’re cooking.
Accent light draws the eye to specific features uplighting a tree, a single spotlight on a pergola post, a soft wash across a stone wall. This is the layer that makes a yard feel considered rather than simply lit.
Solar lighting works fine for path and accent layers. For the ambient layer you’ll use every single evening, hardwired lighting tends to be more reliable, particularly if your summers are more overcast than sunny.
8. Step 7: Plan for Water, Drainage and Weather
This is one of the most commonly skipped steps in backyard planning, and it’s the one that causes the most expensive problems later.
Before laying any hard surface, check where water naturally pools after rain. Patios and paths should have a gentle slope (roughly 1–2% gradient) directing water away from the house foundation, not toward it. If your yard sits on clay-heavy soil, consider a gravel or permeable paving strip along low-lying edges to help water drain rather than sit.
For furniture and cushions, factor weather into your storage plan from day one a simple deck box or storage bench isn’t just tidy, it genuinely extends the life of your cushions and throws by keeping them out of prolonged damp.
9. Step 8: Add Planting Last, Not First
Once the zones, surfaces, boundaries, furniture, and lighting are settled, planting becomes far easier you’re filling in around a plan rather than trying to build a plan around plants that were bought on impulse.
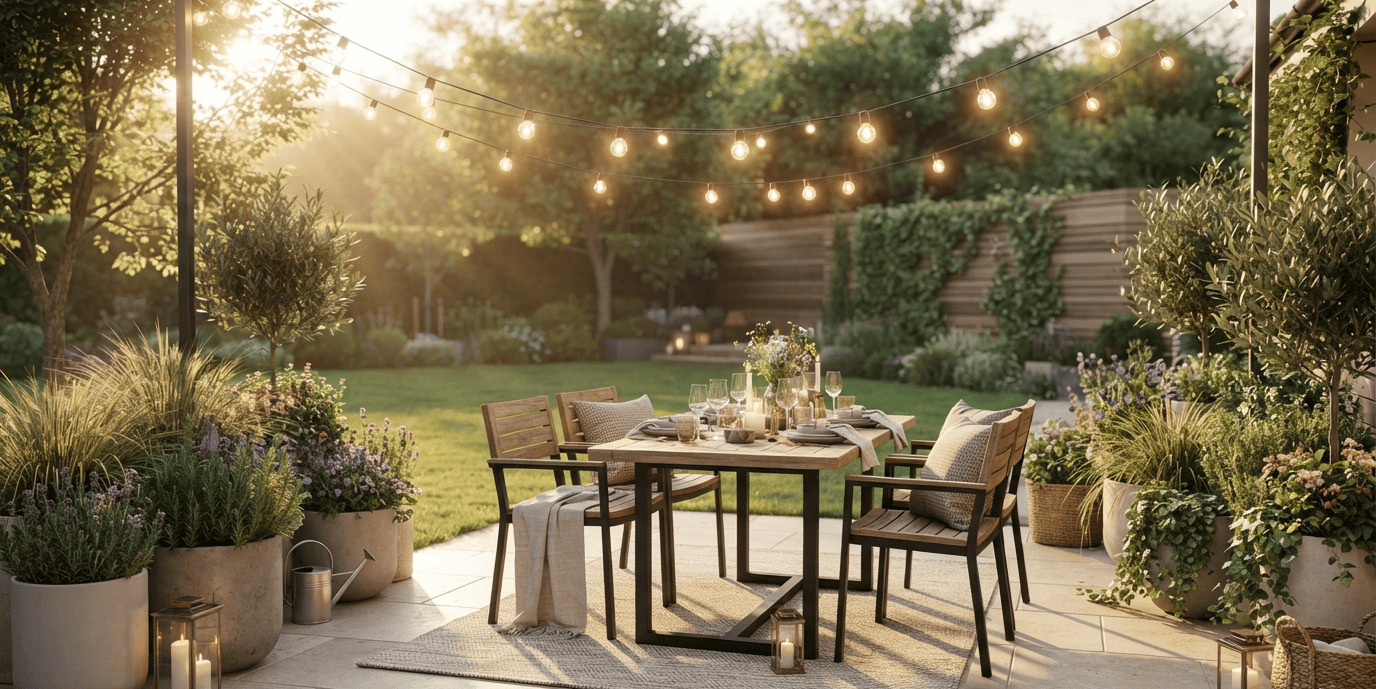
A simple approach that works in most climates: structural, low-maintenance greenery (evergreen shrubs, ornamental grasses) around the edges for year-round shape, then seasonal colour in pots near the seating area, where it’s actually seen and enjoyed up close.
10. Realistic Seasonal Maintenance Schedule
Low maintenance gets used as though it means no maintenance, and that’s usually how people end up resenting features they were excited about six months earlier. Every yard needs some upkeep the real question is whether it fits into a Saturday morning or needs a professional.
| Season | What to do | Rough time needed |
|---|---|---|
| Spring | Clear winter debris, refresh mulch, check furniture and structures for damage, reseal wood | 2–3 hours |
| Summer | Water deeply but less often (better for drought tolerance), general upkeep | ~30 min/week |
| Autumn | Store or cover cushions before first hard rain, cut back perennials, check drainage | ~2 hours |
| Winter | Store/cover furniture, check fencing for damage, plan spring changes while the yard is bare | 1–2 hours |
11. Backyard Design Mistakes Worth Avoiding
-
- mistake.
- One lighting source for the whole yard. It flattens the space and makes it feel one-dimensional after dark.
- Ignoring the fence. It’s cheap to fix and has an outsized visual impact.
- Skipping drainage checks. Small pooling problems become expensive repairs a few seasons in.
- Planting before planning. Plants bought on impulse rarely suit the light, soil, or layout once the hard structure is in place.
- Treating “low maintenance” as “zero maintenance.” It leads to neglect and, eventually, features people quietly stop using.
12. Small Back
- Buying furniture before measuring the zone. This is the single most common (and most expensive) yard? Here’s What Changes
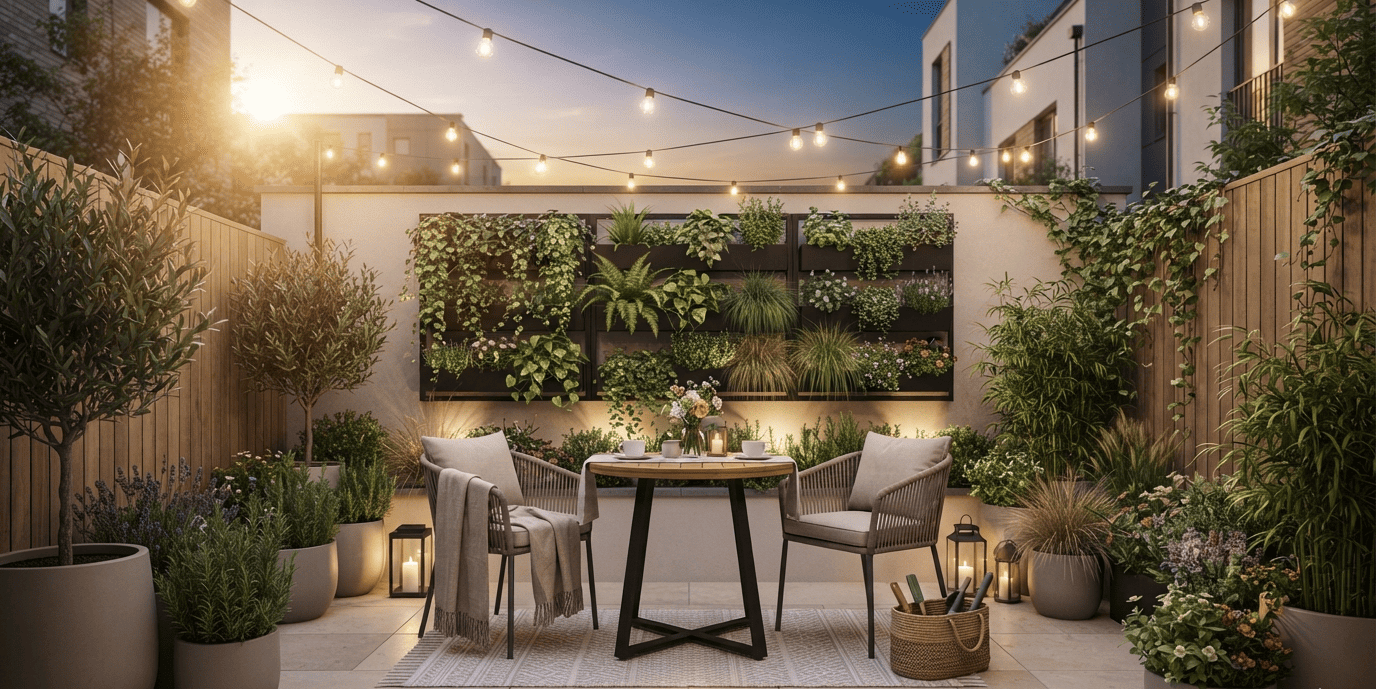
Everything above still applies to a small backyard you’ll just need to be more selective. Prioritise one well-scaled seating zone over trying to fit dining and lounging both in. Vertical space (wall-mounted planters, a trellis) does a lot of work when floor space is tight. And a single consistent material one paving style, one furniture material will make a small space feel more resolved than mixing several finishes to “add interest.”
14. FAQs
1. What’s the difference between a yard and a garden?
A yard is the entire outdoor space around your home patio, lawn, fencing, and structures included. A garden is a specific planting area within that yard, such as a flower bed or vegetable patch.
2. How much does it cost to redo a backyard on a budget?
Painting or staining an existing fence typically costs £60–£120 in materials and gives one of the best visual returns for the money. Beyond that, costs vary widely depending on paving, furniture, and lighting choices, so it’s worth budgeting zone by zone rather than all at once.
3. What’s the best lighting for a backyard patio?
A combination of three layers works best: warm ambient lighting (like string lights) for atmosphere, task lighting for pathways and cooking areas, and accent lighting to highlight a tree, wall, or feature.
4. How wide should a garden path be?
At least 90cm (36 inches) so two people can comfortably walk side by side without it feeling cramped.
5. Is solar lighting good enough for a backyard?
Solar works well for path and accent lighting. For the ambient lighting you’ll use every evening, hardwired lighting is more consistent, especially in climates with frequent cloud cover.
6. What furniture material lasts longest outdoors?
Teak and mid-range powder-coated aluminium are the most durable long-term options. Tightly woven all-weather wicker is a good middle-ground choice if you want a softer look.
7. Do I need to redo my whole lawn?
Not necessarily. If a strip of lawn isn’t actually used for sitting or playing, replacing it with gravel or ground cover can reduce upkeep without sacrificing much.
8. What should I plan for first when designing a backyard?
Zoning and layout come first deciding what the space needs to do and how people will move through it before choosing surfaces, furniture, or plants.
9. How do I stop water pooling on my patio?
Aim for a gentle 1–2% slope directing water away from the house when laying hard surfaces, and consider permeable paving or gravel strips in low-lying areas.
15. Final Thought
A backyard that actually gets used isn’t usually the result of better taste — it’s the result of a better sequence. Plan the zones first, sort the ground beneath your feet, scale the furniture properly, and layer the lighting. Planting and styling are the easy part once the structure is right.
Looking to bring some of this indoors too? Browse more cozy home decor ideas on Cozyreach for tips on lighting, textures, and layout that work just as well inside as they do out.
Other Articles

One Comment
Comments are closed.

[…] you’re already planning a backyard refresh, our cozy backyard design tips pair naturally with this approach think of the patio as a true extension of the room next to it, […]